

 русский
 Español
 عربى
عربى-
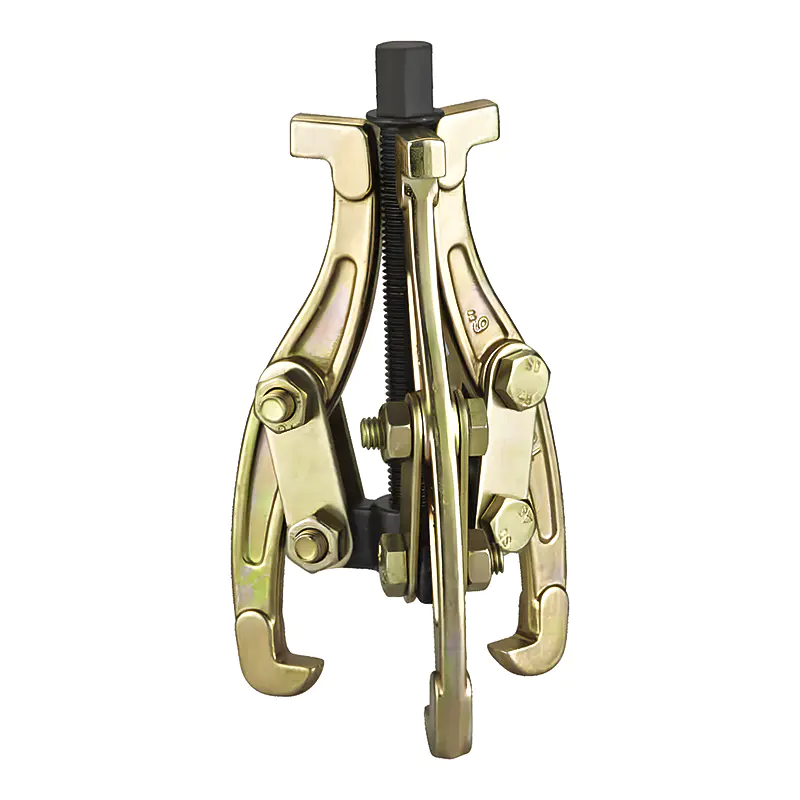
Model: SN0101
-
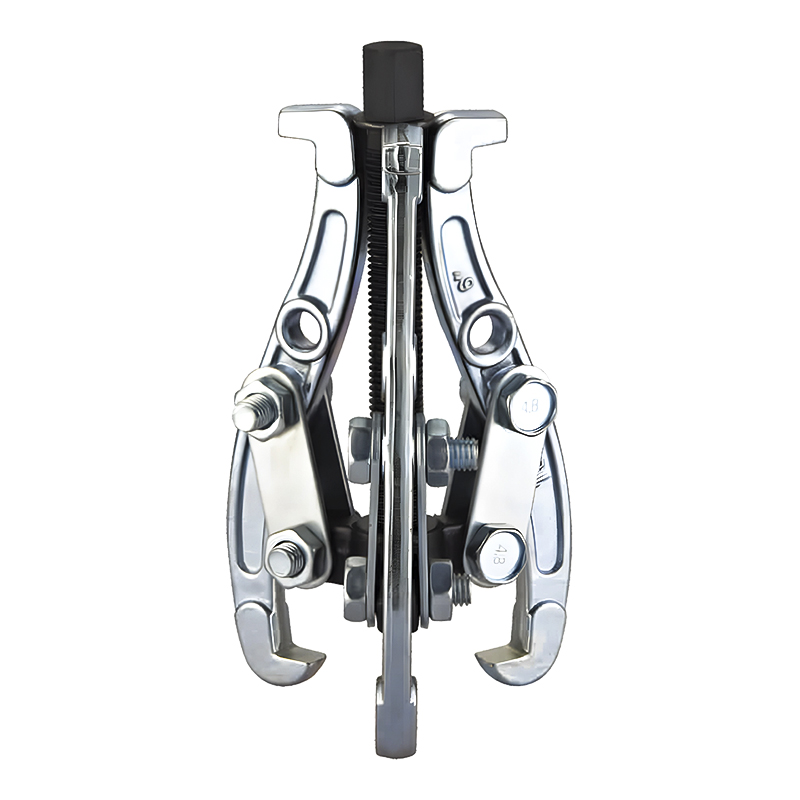
Model: SN0102-1
-
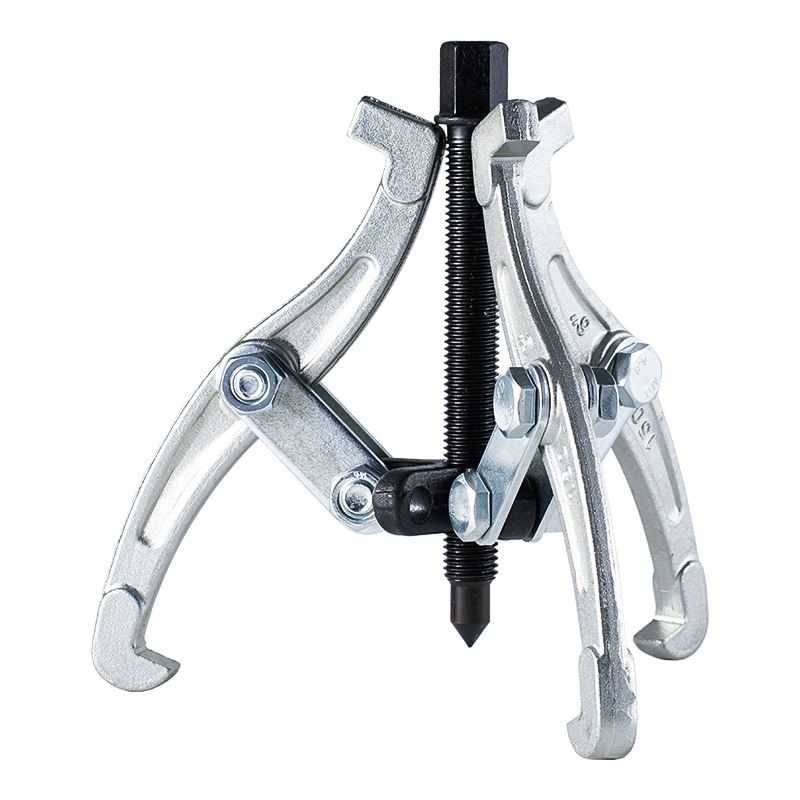
Model: SN0103
-
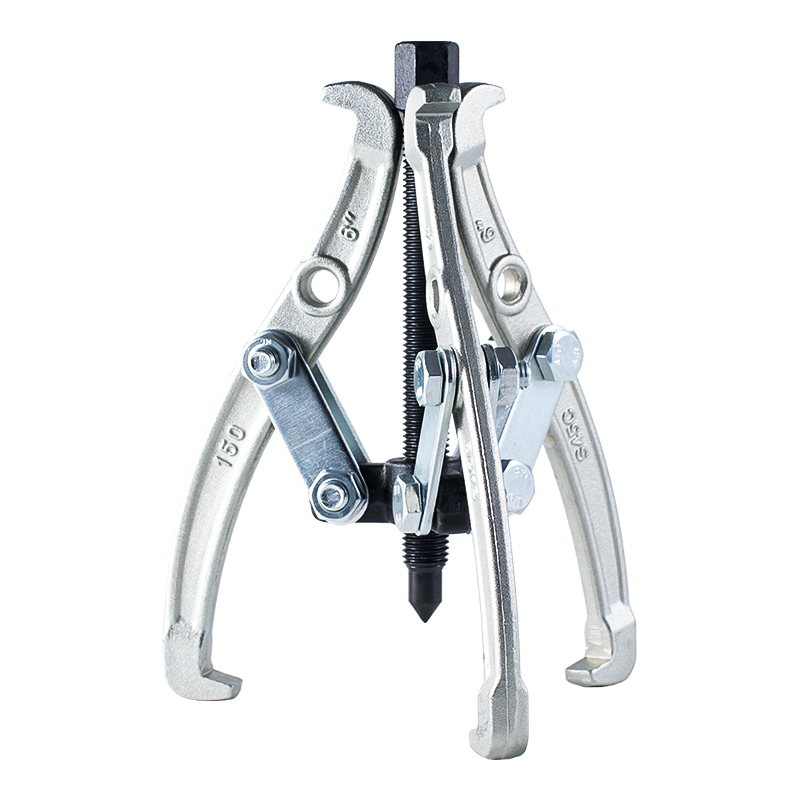
Model: SN0102 SN0107
-
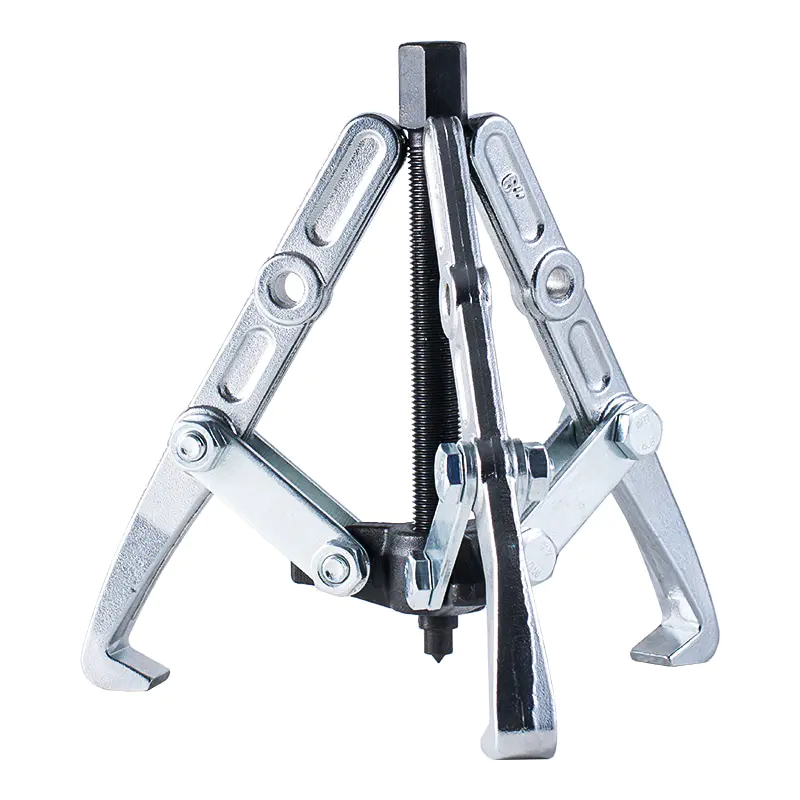
Model: SN0108 SN0109
-
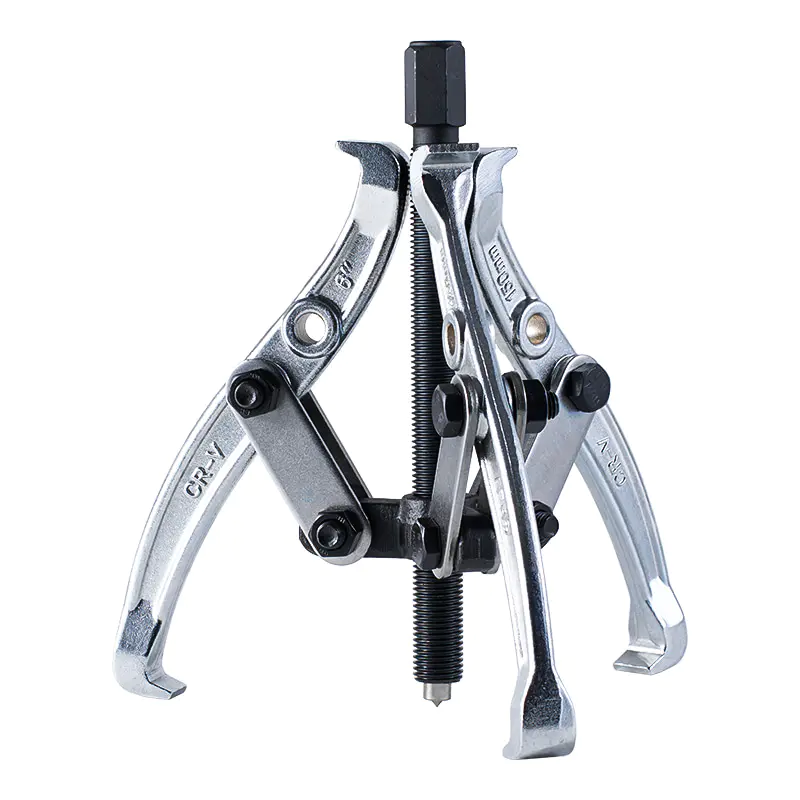
Model: SN0105
-
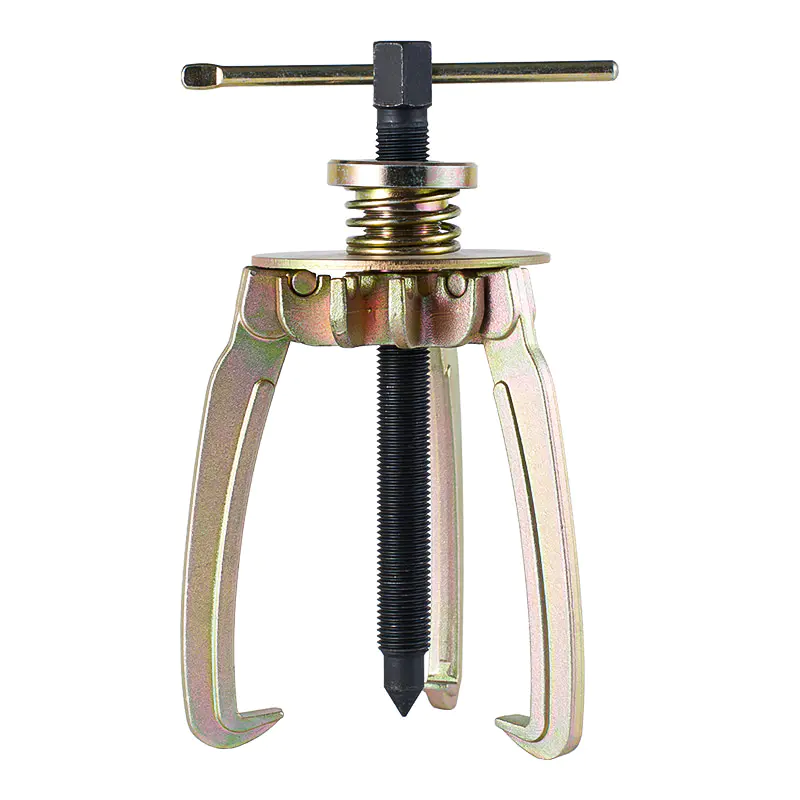
Model: SN0106
-
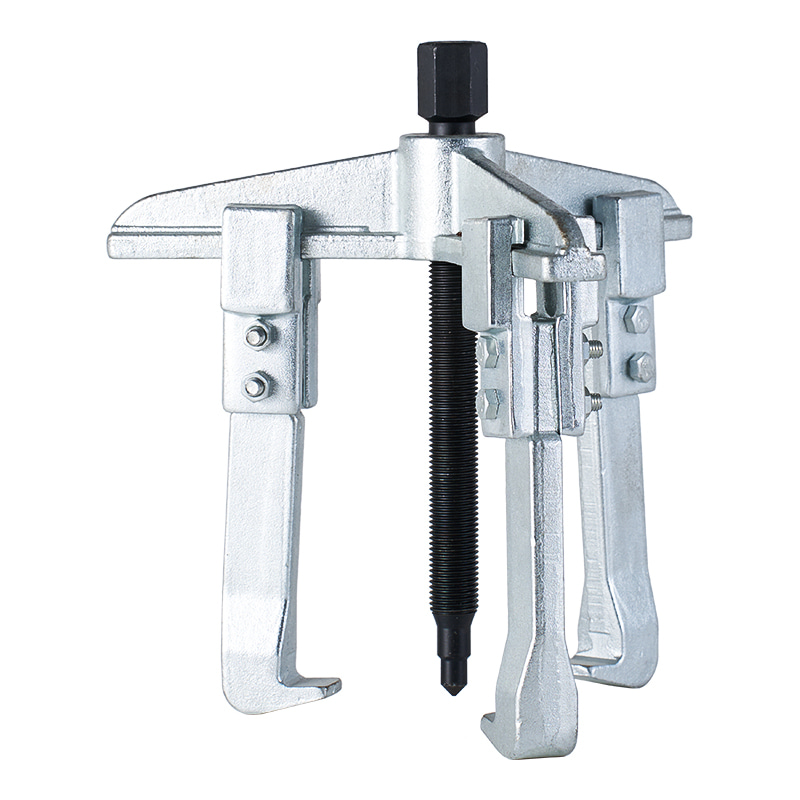
Model: SN0110
-
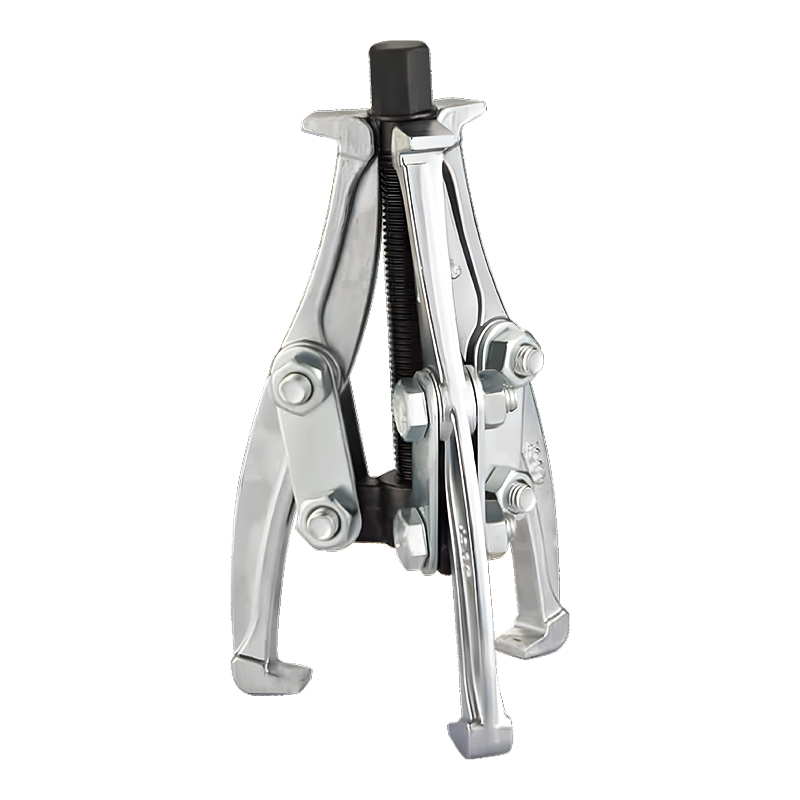
Model: SN0118
-
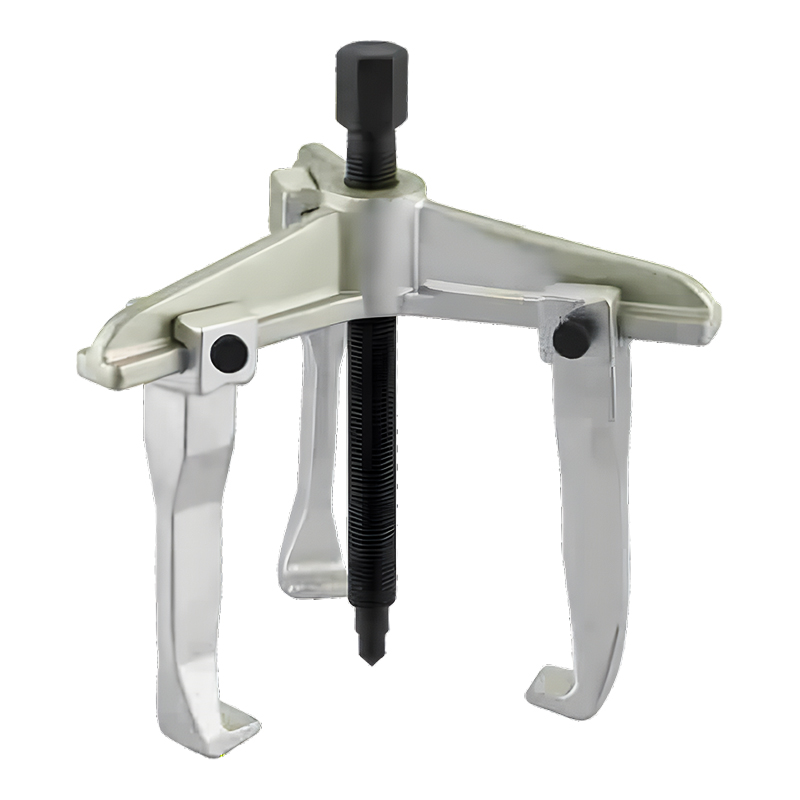
Model: SN0122
-
Model: SN0118-1
Submit feedback
How To Use Universal Bearing Puller Set Safely And Effectively
2026-09-04
Removing a tight bearing, gear, pulley, or similar part can be difficult, especially after long use. A puller gives the operator a controlled way to separate a fitted component from its shaft. Safe use depends less on applying greater force and more on keeping the tool steady from start to finish.
A Universal Gear Puller needs to sit firmly against the workpiece before pressure is applied. Pulling arms should contact solid areas rather than thin edges, damaged sections, or surfaces that may break under pressure. Center alignment matters as well, since an angled setup can make the tool shift as the screw is turned.
Workpiece stability should not be overlooked. Machinery or a loose component may move when pressure starts to build, making the pulling process harder to control. Securing the surrounding equipment and keeping hands away from areas under load can reduce unnecessary risk.
A useful habit is to pause after positioning the tool and check it from different angles. Small changes made before pulling usually take less effort than correcting a tool that has already moved under pressure.
How Should a Universal Gear Puller Be Checked Before Use
A quick inspection can reveal problems before any load reaches the tool. Pulling arms should be checked for visible bends, cracks, or unusual wear, while connection points need to remain secure without excessive looseness.
Pay attention to the center screw as well. Smooth turning makes gradual adjustment easier, whereas damaged threads may cause rough movement or make pressure harder to control. Dirt, rust, or debris around the contact areas should be removed before installation.
A basic inspection can include:
- Pulling arms and their contact surfaces
- Connection points and fastening parts
- Center screw and threads
- Signs of bending or impact
- Dirt or debris around moving areas
Checking the workpiece at the same time is useful. A damaged edge may not provide enough support for a pulling arm, even when the tool itself is in good condition.
How Can the Correct Puller Size Be Selected
Tool size should match the component being removed. Arm opening needs to provide enough space to reach around the part, while arm reach needs to cover the depth of the contact area. Available space around the machinery can affect the choice too.
| Area to Check | What to Consider |
|---|---|
| Arm opening | Can the arms reach around the part securely? |
| Arm reach | Is there enough contact depth? |
| Center screw | Is there room for controlled adjustment? |
| Work area | Are nearby parts blocking the tool? |
| Component shape | Are there strong contact points? |
A Universal Gear Puller may allow adjustment for different tasks, although its adjustable range still has practical limits. Choosing a tool only because it can reach the component may create an awkward setup. Proper contact and working space deserve equal attention.
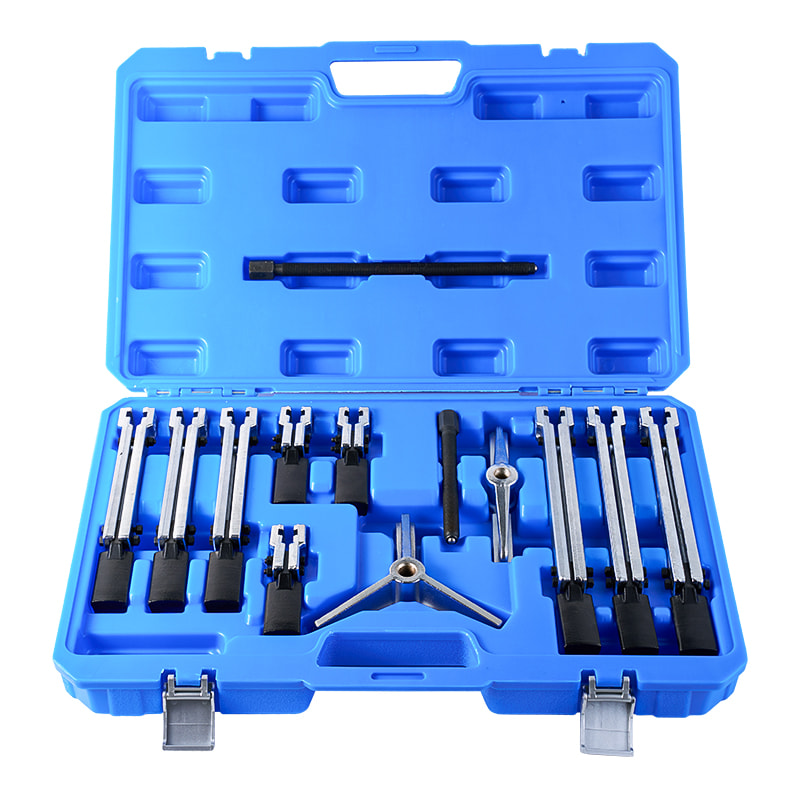
How Should the Puller Be Positioned on the Workpiece
Positioning has a direct effect on how force travels through the setup. Each pulling arm should rest against a firm section of the component, with the arms placed as evenly as the workpiece allows.
Center alignment is equally important. The center screw should meet a suitable point on the shaft or central area so that pulling force travels along a controlled path. A noticeably angled screw can push the tool sideways as pressure increases.
Before turning the screw, check whether every arm remains in place and whether nearby parts leave enough room for movement. Once the tool is under pressure, making adjustments becomes more difficult.
How Does Even Force Affect Pulling Performance
A slow and steady approach makes changes easier to notice. As the center screw turns, watch both the tool and the workpiece rather than focusing only on whether the component has started moving.
One arm shifting outward, the tool tilting, or the workpiece moving unevenly can indicate that contact needs to be checked again. A sudden click or unusual sound deserves attention as well, particularly when the source cannot be identified immediately.
For a Universal Gear Puller, balanced contact helps distribute pressure across the pulling arms. Gradual adjustment gives the operator time to respond when the setup changes, which is useful when working with older or tightly fitted components.
What Common Mistakes Should Be Avoided During Pulling
A poorly matched tool can create trouble before pulling even begins. Arms that barely reach the component may lose contact once pressure increases, while placing an arm on a weak edge can damage the workpiece.
Applying force too quickly creates another problem because movement can happen before the operator has time to notice a change in position. Using an unsuitable method to increase turning force can place additional stress on the tool and surrounding parts.
Stopping is appropriate when the setup begins to shift. A slipping arm, angled center screw, unexpected movement, or unusual sound should lead to another inspection rather than continued pulling.
Safe removal comes from careful positioning and controlled movement. Tool condition, size, contact points, alignment, and workpiece stability all need to work together before greater pulling force is considered.
How Can a Universal Gear Puller Be Used More Effectively
Once a puller has been positioned correctly, the next step is to keep its movement controlled throughout removal. Different workpieces may have different shapes, so arm placement sometimes needs to be adjusted before pressure is applied. A narrow edge, recessed part, or limited working space can change how the tool needs to sit.
Keeping the pulling arms at a similar angle helps maintain a stable setup. During operation, watch for movement around each contact point rather than concentrating only on the center screw. A small shift may indicate that an arm is no longer sitting firmly against the workpiece.
Working space matters during adjustment too. Nearby housings, shafts, covers, or other machine parts can restrict hand movement and make it harder to turn the screw smoothly. Clearing unnecessary objects from the surrounding area can make the operation easier to manage.
For a Universal Gear Puller, useful habits include:
- Position the arms before applying pressure.
- Keep the center screw aligned with the intended pulling direction.
- Turn the screw gradually rather than forcing it.
- Pause when the tool position changes.
- Recheck contact whenever movement becomes uneven.
A controlled approach allows the operator to respond to changes instead of continuing through an unstable setup.
What Safety Conditions Should Be Checked During Operation
Safety needs attention throughout the pulling process rather than only during preparation. Once pressure builds, the tool and workpiece are under load, so hands should stay away from contact areas and possible movement paths.
The workpiece should remain stable during removal. A loose component or poorly supported machine can move as pressure changes, affecting both the puller and the surrounding equipment. Keeping the working area clear can reduce distractions and provide room to step back when necessary.
Unexpected movement deserves immediate attention. An arm that begins to slide, a center screw that moves away from its intended position, or a sudden sound can indicate that the setup has changed.
A practical check during operation can focus on three areas:
| Tool position | Are all arms still sitting securely? |
|---|---|
| Workpiece movement | Is the component moving in the intended direction? |
| Working area | Is anything nearby interfering with the tool or creating a safety concern? |
Continuing to turn the screw while one of those conditions appears uncertain can make the situation harder to control. Stopping for a quick inspection is usually more useful than trying to correct the problem while pressure remains on the tool.
How Should a Gear Puller Be Maintained After Use
Care after use can help keep a puller ready for later work. Once the component has been removed, release the pressure before taking the tool away from the workpiece. Removing a tool while it is still under load can make handling less predictable.
Dirt and oil should be wiped from the arms, screw, and contact areas. Any material left around moving or threaded sections may affect later adjustment. A visual check after cleaning can reveal damage that was not obvious while the tool was being used.
Pay particular attention to parts that carried the pulling force. Bent arms, damaged threads, loose connections, or unusual marks should not be ignored. Recording such problems can help prevent the same tool from being placed into another job without inspection.
Storage conditions matter as well. A dry location with limited exposure to moisture and unnecessary impact can help protect the tool between uses. Pulling arms should not be left where heavy objects can press against them or cause accidental bending.
Regular care does not require complicated procedures. Cleaning, checking, and storing the tool properly can make preparation easier when another removal task arises.
What Should Buyers Ask a Gear Puller Supplier
Product selection should start with the actual work involved. A gear puller supplier can provide useful information about tool size, adjustment range, construction, and intended applications, although the buyer still needs to match those details with the workpiece.
Questions can focus on practical use rather than appearance. For example:
- What range of component sizes can the tool accommodate?
- How far can the pulling arms reach?
- How are the arms adjusted?
- What type of workpiece shapes can be supported?
- What conditions should be avoided during use?
- How should the tool be cleaned and stored?
Information about the center screw and pulling arms can be particularly useful because both parts have a direct role during removal. Knowing how the arms lock into position can help determine whether the tool suits the available working space.
A supplier should be able to provide clear information about intended use and basic care. Such details can help buyers compare different tool arrangements without relying only on photographs or general descriptions.
The working environment should remain part of the discussion. A tool intended for occasional workshop use may be considered differently from one used around larger machinery or in restricted spaces.
How Can Proper Tool Selection Support Safer Pulling Work
Safe pulling begins before the center screw is turned. Choosing a suitable tool, checking its condition, and positioning each arm correctly can reduce problems during removal.
Workpiece size provides only part of the selection process. Shape, contact area, access space, and the condition of the component can influence whether a particular puller is suitable. A tool that fits the measured width may still be difficult to use when surrounding parts leave little room for adjustment.
During operation, gradual pressure and regular observation help keep the setup under control. Once the component starts moving, the operator can continue watching the arms and center position rather than assuming the setup will remain unchanged.
After removal, cleaning and inspection keep the tool ready for later use. Any damage found during maintenance should be addressed before another job begins.
A practical working sequence can therefore follow a simple pattern:
- Check the tool and workpiece.
- Match the puller size to the component.
- Position the arms on firm contact areas.
- Align the center screw with the pulling direction.
- Apply pressure gradually.
- Watch for movement or changes in position.
- Stop and inspect when anything appears unusual.
- Clean and store the tool after use.
Using a Universal Gear Puller safely is closely connected with preparation and observation. Tool condition, component shape, working space, and pulling direction all affect how the removal process develops. Careful handling allows the tool to perform its intended task without relying on sudden force or rushed adjustments.

-

Fax: +86-576-82686606
-

Tel: +86-576-82686563
+86-576-82686832 -

E-mail: [email protected]
-

Add: Fengjiang Industrial Park, Luqiao Area,Taizhou City, Zhejiang Province, China
Copyright © 2025 Taizhou Xinming Technology Co., Ltd. All Rights Reserved.

Sale Hardware Tools Factory