

 русский
 Español
 عربى
عربى-
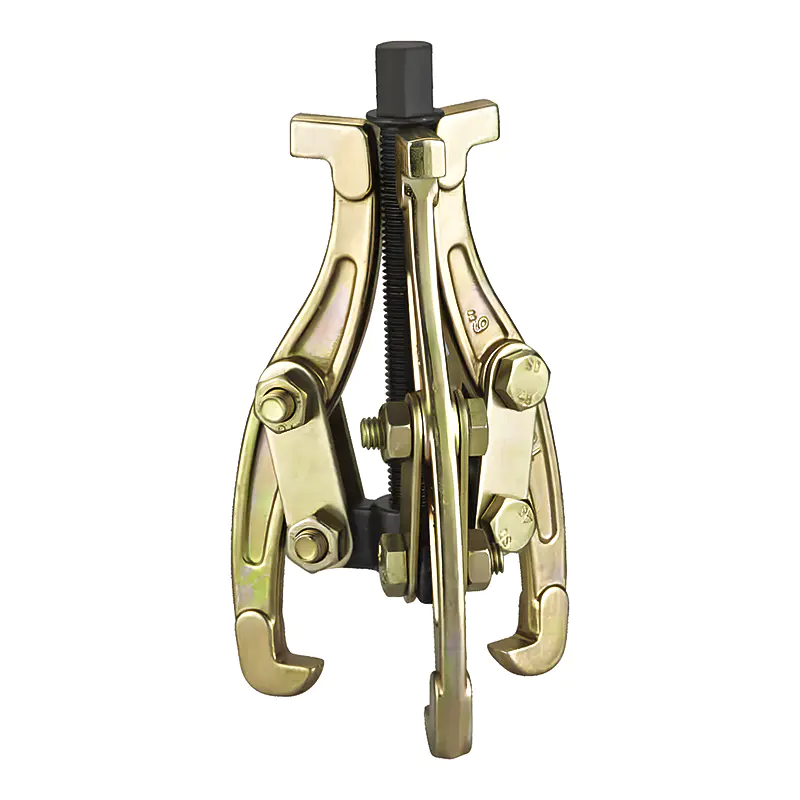
Model: SN0101
-
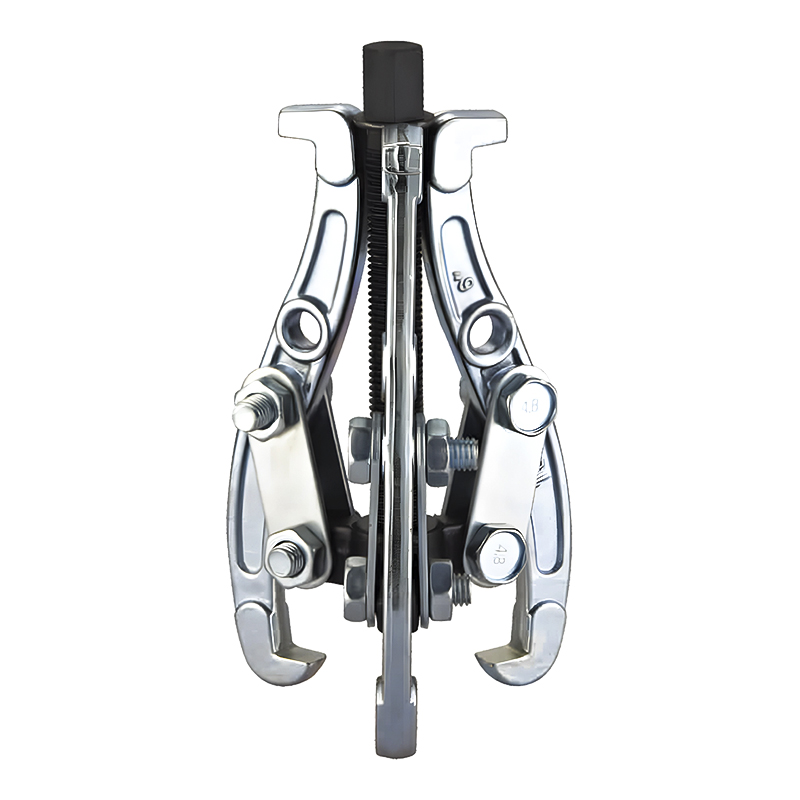
Model: SN0102-1
-
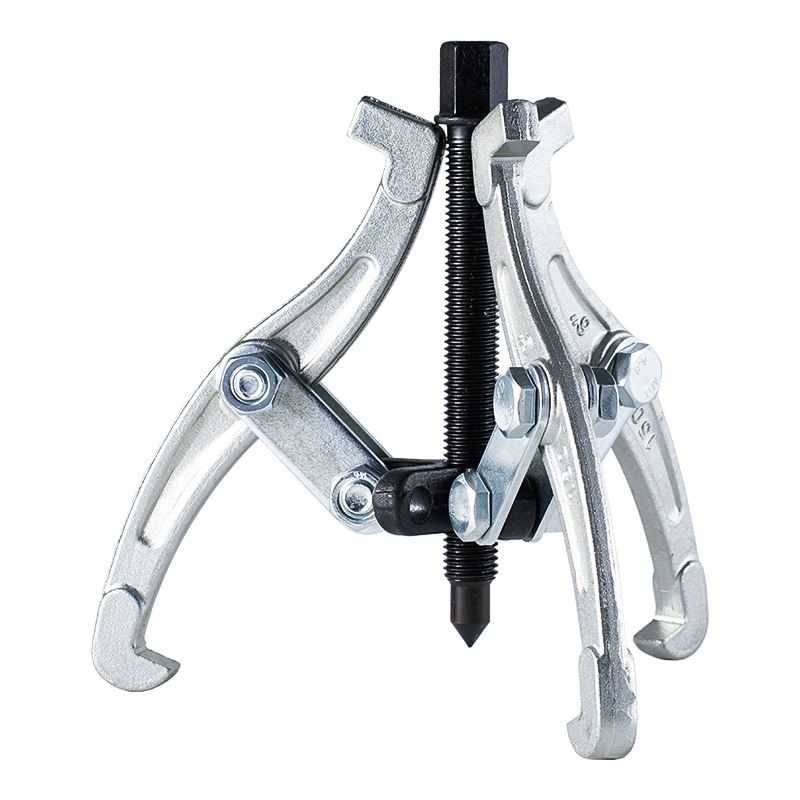
Model: SN0103
-
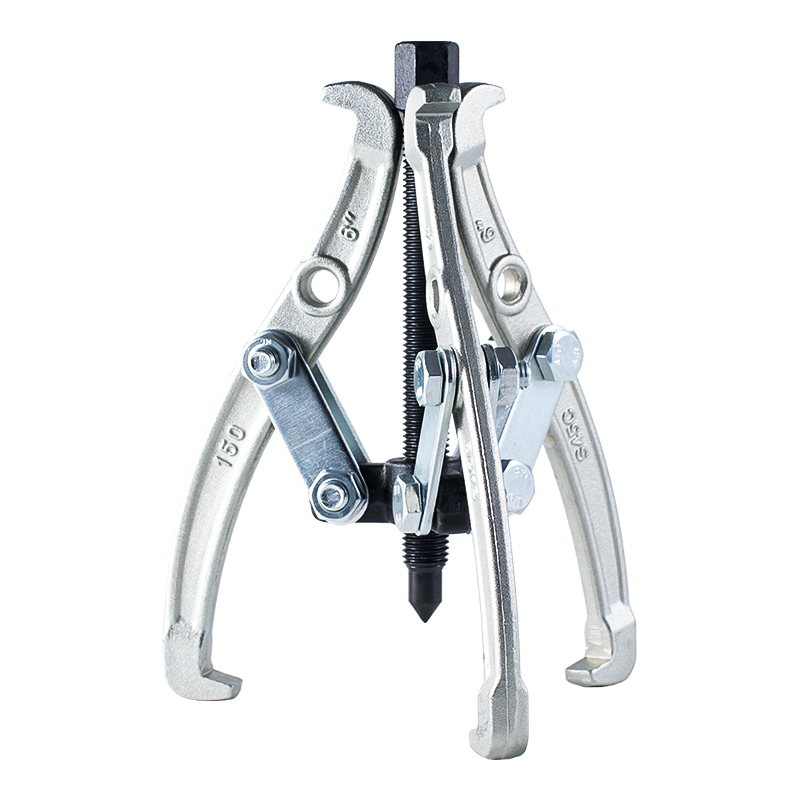
Model: SN0102 SN0107
-
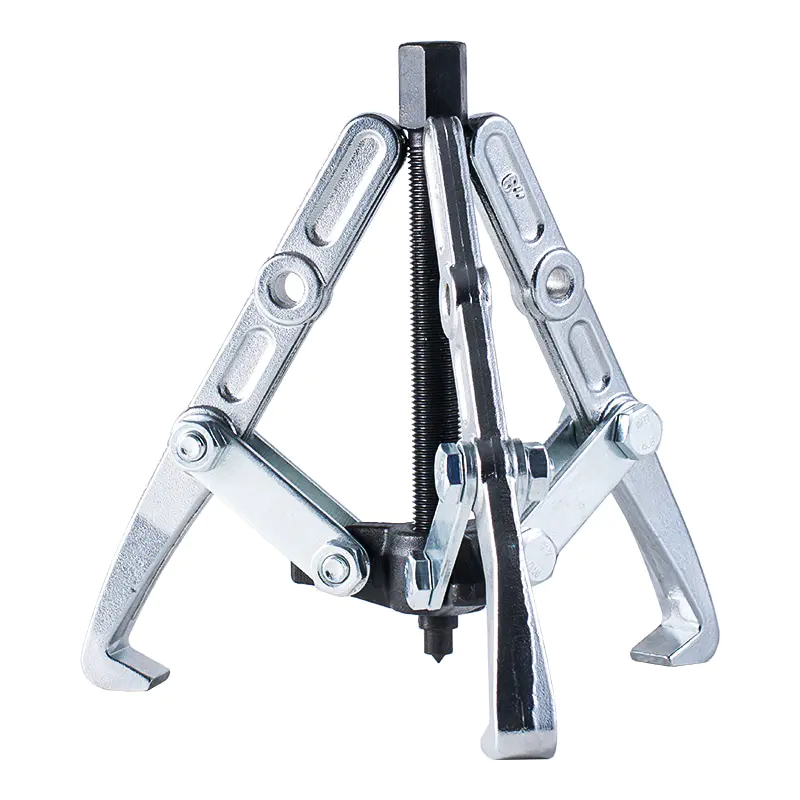
Model: SN0108 SN0109
-
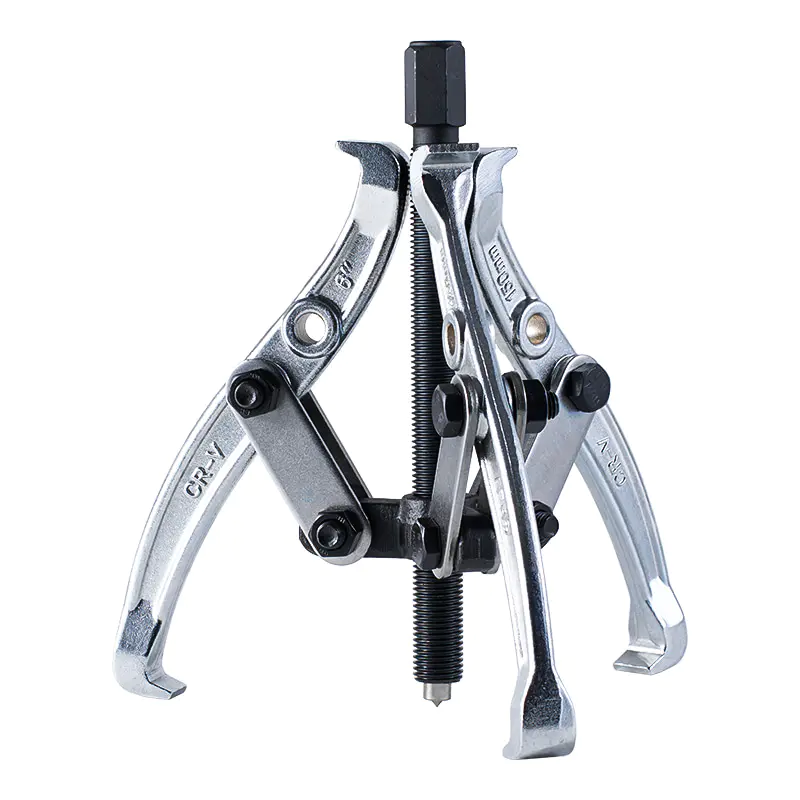
Model: SN0105
-
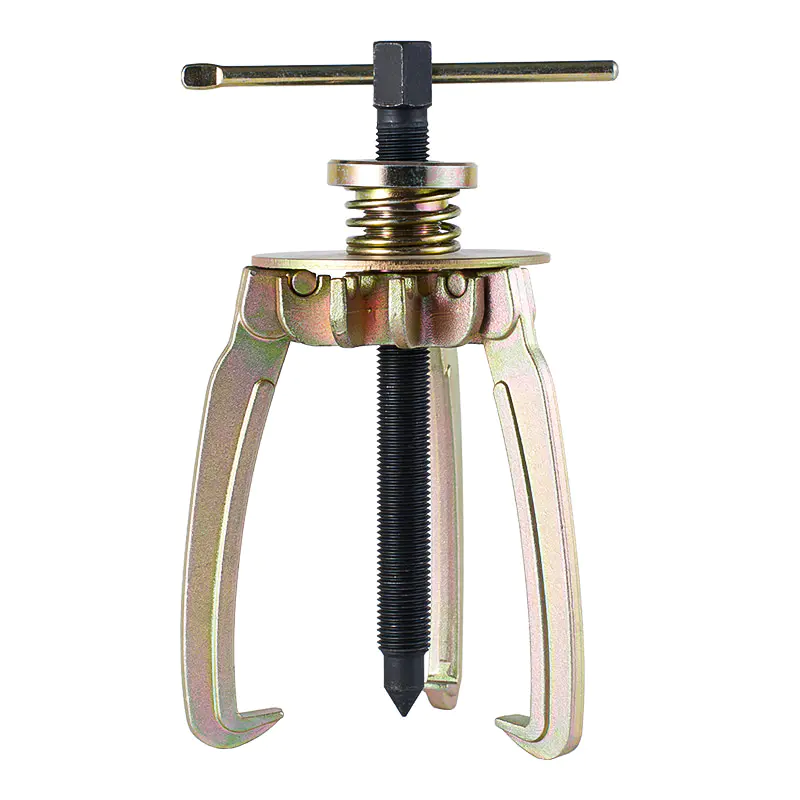
Model: SN0106
-
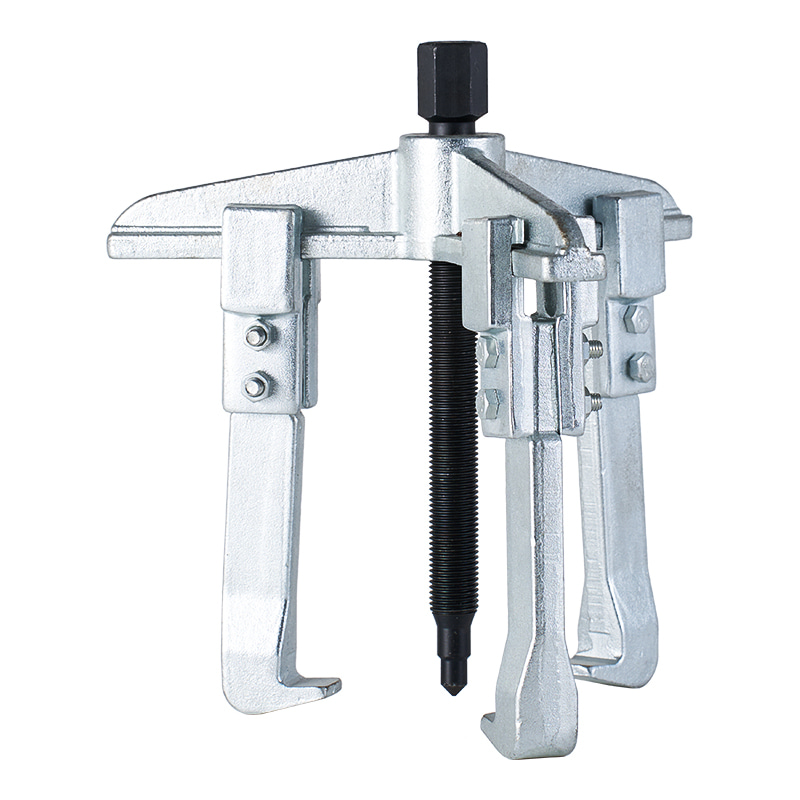
Model: SN0110
-
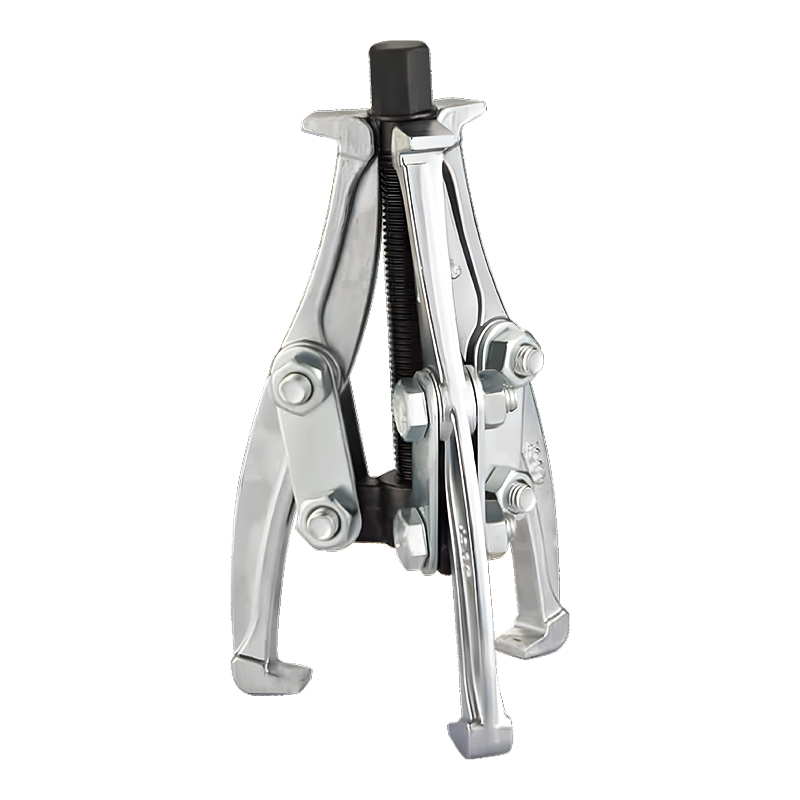
Model: SN0118
-
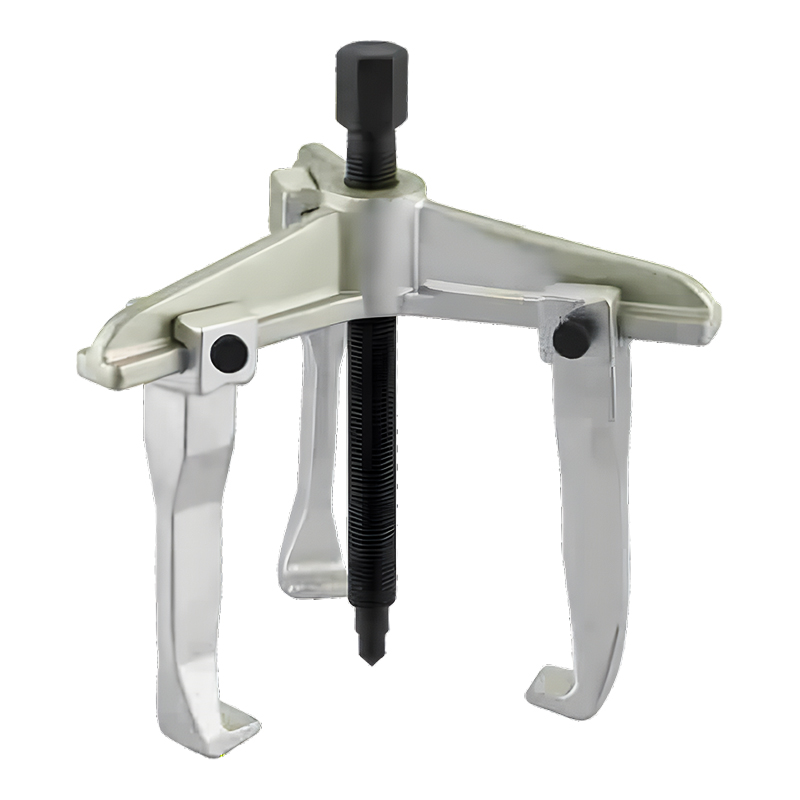
Model: SN0122
-
Model: SN0118-1
Submit feedback
How To Use 2 Jaw Puller Set Step By Step In Bearing And Gear Removal Work
2026-07-17
A bearing or a gear that sits tight on a shaft does not want to move. Years of heat, pressure, and corrosion lock it in place. A 2 jaw puller set provides a way to remove those components without damaging the shaft or the surrounding parts.
The tool has a simple design. Two arms, or jaws, hook behind the component being removed. A forcing screw runs through the centre of the puller body. Turning the screw pushes against the end of the shaft while the jaws pull on the component. The force works in opposite directions, separating the component from the shaft.
The two-jaw design gives good access in many situations. The jaws can reach around bearings, gears, pulleys, and other components where a three-jaw puller might not fit. The open side of the jaws provides better clearance in tight spaces.
What Preparations Should Be Done Before Using the Puller
A few minutes of preparation save time and prevent problems. The puller should be checked for damage before use. Look for bent jaws, worn threads on the forcing screw, or any cracks in the body. A damaged puller can fail under load, causing injury or damaging the workpiece.
Selecting the right size puller matters. A puller that is too small will not have enough reach or force. One that is too large may not fit in the available space. The jaws should hook behind the component with the legs sitting squarely against the back face.
The work area and the component need attention before starting. Clean away any dirt, grease, or debris that might interfere with the puller's grip. Apply penetrating oil to the area where the component meets the shaft. The oil works into the joint, helping to break the bond between the two surfaces.
How to Position the Puller Jaws Correctly
Jaw placement determines whether the puller works as intended. The jaws must sit behind the component with the hook engaged securely. A jaw that slips off during tightening can damage the component or cause the puller to fly loose.
The forcing screw needs to align with the centre of the shaft. A misaligned screw will push against the shaft at an angle, creating uneven pressure and potentially damaging the shaft end. Centring the screw keeps the pulling force straight and balanced.
The two jaws should provide a balanced grip. One jaw taking more load than the other will cause the puller to tilt. The component may come off at an angle, damaging both the component and the shaft. Adjusting the jaws evenly before applying force prevents this problem.
How to Tighten the Puller Step by Step
Tightening the puller starts with taking up the slack. Turn the forcing screw until it makes light contact with the end of the shaft. The jaws should be snug against the back of the component. No force has been applied yet at this stage.
Check the alignment once more. The screw is centred on the shaft. The jaws sit evenly. Everything looks straight. If anything looks off, adjust it now before applying any real force.
A few steps for tightening the puller:
- Turn the screw in small increments
- Check the jaw position after each turn
- Look at the puller from different angles to confirm alignment
- Watch for signs of binding or uneven stress
Slow, controlled tightening works better than rushing. The force gets applied gradually, allowing the component to move evenly. Sudden force can cause the jaws to slip, the component to shift, or the puller to fail.
What to Do When the Component Begins to Move
As the forcing screw tightens, the component starts to slide off the shaft. The movement might be barely noticeable at first. A slight creak or pop signals that the bond has broken.
Continue tightening the screw gradually, keeping the pressure steady. The component should move smoothly along the shaft. If resistance increases or the movement stops, more penetrating oil may help. Apply the oil around the joint and let it work for a few minutes before applying more force.
If the component does not release after reasonable force, stop and evaluate. The puller might be the wrong size. The jaws might not be hooked correctly. The component might have a retaining ring or other part that has not been removed. Forcing the puller beyond its intended limit causes damage.
| Issue | What to Check | Possible Solution |
|---|---|---|
| Jaws slip during tightening | Jaw position and engagement | Reposition jaws for better grip |
| Component does not move | Penetrating oil application | Let oil soak longer, apply more |
| Puller threads feel tight | Thread condition and lubrication | Clean threads, apply lubricant |
| Component moves unevenly | Jaw alignment and balance | Reposition jaws more evenly |
| Forcing screw binds | Screw alignment with shaft centre | Adjust puller position |
How to Remove the Puller and the Component
Once the component comes free from the shaft, the work does not stop. The puller still holds tension, and the component may drop unexpectedly. Backing off the forcing screw gradually releases the remaining pressure. Turn the screw counterclockwise, watching the jaws as they loosen from the component.
The component can then be lifted away from the shaft. Support it while removing the jaws to prevent it from falling. The puller itself may need some wiggling to free the jaws from behind the component. Pull the tool straight back to avoid catching the jaws on the component or the shaft.
The shaft and the component should both get inspected after removal. The shaft surface should be smooth and free of deep scratches or gouges. The component's bore should show signs of wear or damage that would affect its future use. If either part has been damaged during removal, that damage needs attention before reassembly.
Cleaning the puller set after use finishes the job. Wipe away any oil, dirt, or debris that has accumulated on the tool. A clean puller stays in good condition and performs better the next time it gets used.
What Problems Occur When Using a Puller Incorrectly
A puller used the wrong way creates problems that go beyond the component being removed. Damaged puller threads rank among the more common issues. Over-tightening strips the threads on the forcing screw or the puller body. Once stripped, the puller no longer works properly and may need replacement.
Bent or broken jaws happen when the puller gets overloaded. The jaws flex under heavy loads and can eventually crack or snap. A broken jaw under tension releases with dangerous force. The sudden release can cause the puller to fly across the work area.
Component damage results from jaw slippage. A slipping jaw scratches or gouges the component surface. The marks left behind may make the component unusable. Reusing a component with jaw marks could cause it to fail in service.
Injury risks exist throughout the pulling process. Fingers can get pinched between the jaws and the component. The sudden release of a broken puller can hit the user. Flying fragments from a shattered component can cause eye injuries.
A few common errors to avoid:
- Over-tightening the forcing screw
- Using a puller that is too small for the job
- Failing to clean and lubricate threads
- Applying force off-centre
- Ignoring warning signs of a puller failure
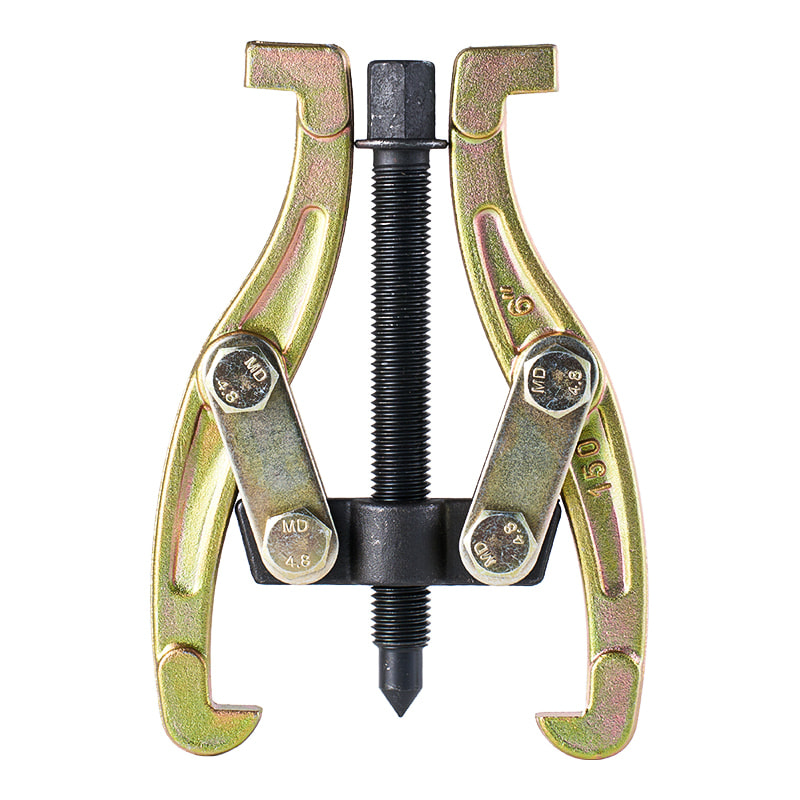
How to Maintain a 2 Jaw Puller Set for Long Service Life
A puller set that gets cared for stays ready for use. Cleaning comes first. Wipe the entire tool after each job to remove oil, grease, and metal particles. A clean tool feels right in the hand and works predictably.
Threads need attention. The forcing screw and the jaw adjusting nuts should be inspected regularly. Dirt and debris wear down threads over time. Cleaning the threads with a small brush keeps them in good condition. A light lubricant applied to the threads reduces wear and keeps the screw turning smoothly.
Rust and corrosion shorten the life of any tool. The puller should be stored in a dry place where moisture does not collect. A thin coating of oil on the metal surfaces protects against rust. Wipe the oil on and wipe off the excess before storing.
Keeping the full set together matters. A 2 jaw puller set usually comes with interchangeable jaws or adapters. Separating the pieces or losing them makes the set incomplete. A storage case or a dedicated place in the toolbox keeps all the pieces organised.
A few practices that extend puller life:
- Clean the tool after every use
- Lubricate threads and moving parts regularly
- Store in a dry, protected location
- Keep complete sets together
- Inspect before each use for damage or wear
The value of a well-maintained puller set shows up in the work it does. A tool that works smoothly, holds its load, and releases cleanly makes tough jobs manageable. Replacing a damaged puller costs money. Keeping the tool in good condition avoids that expense and ensures the right tool stays on hand when needed.

-

Fax: +86-576-82686606
-

Tel: +86-576-82686563
+86-576-82686832 -

E-mail: [email protected]
-

Add: Fengjiang Industrial Park, Luqiao Area,Taizhou City, Zhejiang Province, China
Copyright © 2025 Taizhou Xinming Technology Co., Ltd. All Rights Reserved.

Sale Hardware Tools Factory