
 русский
 Español
 عربى
عربى-

Model: SN0101
-

Model: SN0102-1
-

Model: SN0103
-

Model: SN0102 SN0107
-

Model: SN0108 SN0109
-

Model: SN0105
-

Model: SN0106
-

Model: SN0110
-

Model: SN0118
-

Model: SN0122
-
Model: SN0118-1
Submit feedback
Maintenance Tips for Puller Tools
2025-07-31
Puller tools are the unsung heroes of many mechanical and automotive workshops. These devices, which include the versatile ball joint puller tool and the powerful screw puller tool, are engineered to apply controlled, tremendous force to remove pressed-in components without causing damage. Their value is immense, but it is often only realized when one fails at a critical moment.
The difference between a reliable puller and one that snaps under pressure almost always boils down to one factor: consistent, knowledgeable maintenance. Proper care is not just about cleaning; it's a holistic approach that encompasses inspection, correct usage, and intelligent storage. Integrating a regimen with the right maintenance tools is what separates a professional-grade toolkit from an amateur's collection.
This guide will delve deep into the philosophy and practice of maintaining your puller tools, transforming them from disposable items into lifelong professional partners.
Understanding the Tools and Their Stress Points
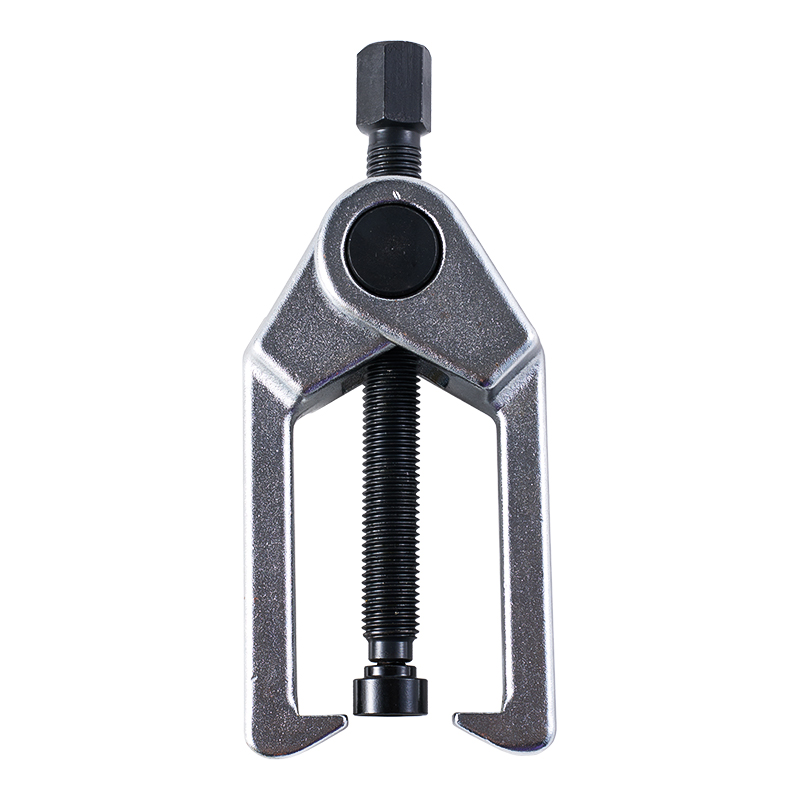
Before diving into maintenance procedures, it's crucial to understand what we are maintaining. A screw puller tool operates on a simple but brilliant principle: a fine-threaded screw is turned, applying linear force through a central shaft to push against a component while a cross-bar or yoke pulls on the outer race. The entire operation places immense tensile and shear stress on the screw threads and the tool's jaws or yokes.
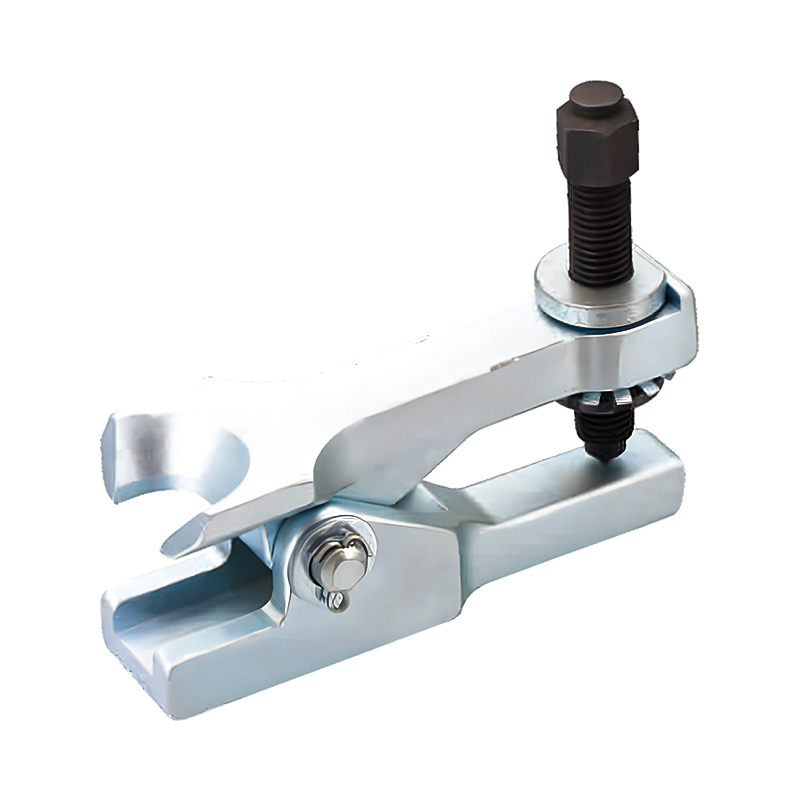
Similarly, a ball joint puller tool is a specific type of puller designed to navigate the tight spaces around suspension components. It often features a claw-like mechanism that grips the joint, and a forcing screw that presses down on the steering knuckle or hub to pop the joint free. This action subjects the claws to significant bending stress and the screw to high compression and torsion.
The common enemies of all pullers are:
- Contamination: Grit, grease, and metal debris act as abrasives, accelerating wear on threads and mating surfaces.
- Corrosion: Rust is the cancer of tool steel. It pits surfaces, increases friction, and can cause catastrophic brittle fracture.
- Mechanical Overload: Using a puller that is too small for the job, or applying excessive torque with a cheater bar, can cause microscopic cracks that develop into full breaks.
- Improper Use: Misaligning the tool or using it on an incompatible component concentrates stress in ways it was not designed to handle.
A comprehensive maintenance strategy directly counteracts these enemies.
Phase 1: Post-Use Cleaning – Line of Defense
Cleaning is immediate and impactful maintenance activity. It should be performed after every use, without exception.
Step 1: Degreasing and Debris Removal
After using your ball joint puller tool, it will likely be coated in a mixture of grease, brake dust, and road grime. Begin by wiping off the bulk of the residue with a clean, dry rag. For a more thorough clean, use a dedicated parts washer or a spray-on biodegradable degreaser. A stiff-bristled brush, ideally one of your dedicated maintenance tools like a brass wire brush, is good for scrubbing the intricate threads of a screw puller tool and the grooves of the jaws without scratching the underlying metal. Pay close attention to the forcing screw and the internal threads of the yoke, as these are high-stress areas.
Step 2: Drying and Anti-Corrosion Treatment
Once all visible contamination is removed, dry the tool completely with compressed air or a clean, lint-free cloth. Any residual moisture will cause rust. This is the good time to apply a protective coating. A light machine oil or a dedicated tool protector spray is ideal. Apply a small amount to a cloth and wipe down all metal surfaces, paying special attention to the freshly cleaned threads. For a screw puller tool, turning the screw in and out a few times after oiling will ensure the lubricant is distributed evenly across all contact points. This simple act is one of effective ways to preserve the tool's functionality.
Phase 2: The Critical Role of Regular Inspection
A visual and functional inspection should be conducted before you even attempt to use the tool. A failed inspection can prevent a dangerous and costly failure.
Visual Inspection for Damage
Hold your ball joint puller tool under a bright light and examine it closely. Look for the following tell-tale signs of wear or damage:
- Cracks or Stress Lines: Magnify your inspection around the corners of the jaws and the base of the forcing screw. Any visible hairline cracks, no matter how small, mean the tool is compromised and must be taken out of service immediately.
- Thread Deformation: Inspect the threads of your screw puller tool. Look for mushed or flattened threads, which indicate the steel has yielded under excessive load. Running your fingernail across a thread can reveal deformities you might not see.
- Bent Components: Check that the cross-bar or yoke of the puller is straight. A bent component has been overloaded and its structural integrity is forever weakened.
Functional Inspection for Performance
A tool can look fine but still be on the verge of failure.
- Screw Rotation: The heart of any screw puller tool is its screw. It must turn smoothly and freely, without any binding or gritty feeling. Any resistance indicates the presence of debris, damaged threads, or the beginning of thread galling.
- Jaw and Claw Movement: For a ball joint puller tool, ensure the jaws pivot smoothly on their pins and that the locking mechanism (if present) engages securely. Stiff or wobbly jaws can slip under load, causing injury or damage.
Having a dedicated set of maintenance tools for inspection, such as a magnifying glass and a set of feeler gauges, can elevate this process from a casual glance to a professional-grade assessment.
Phase 3: Proactive Maintenance and Correct Usage
Maintenance isn't just reactive; it's also about using the tool correctly to minimize wear.
The Importance of Lubrication
While a post-clean oiling protects against rust, a high-pressure lubricant is recommended for the working threads. Before a tough job, apply a small amount of anti-seize compound or moly-based grease to the screw of your screw puller tool. This drastically reduces friction during operation, which means less torque is required from you and less stress is placed on the threads. This is a fundamental practice that extends the tool's life exponentially. Keeping your lubricants organized and accessible is a key function of your overall maintenance tools inventory.
Using the Right Tool for the Job
This is overlooked aspect of maintenance. Forcing a small two-jaw puller to do the job of a heavy-duty three-jaw ball joint puller tool is a recipe for disaster. Using a puller in a misaligned state creates sideload on the screw, which can permanently bend it or strip the threads. Always select a tool rated for the job at hand and ensure it is seated correctly before applying force. This preventative approach is the smartest form of maintenance.
Building Your Maintenance Toolkit
To properly care for your pullers, you need the right maintenance tools. This dedicated kit should include:
- A set of brass and steel wire brushes.
- Lint-free shop cloths.
- A high-quality degreaser.
- Light machine oil for rust prevention.
- High-pressure grease or anti-seize for thread lubrication.
- A magnifying glass for detailed inspection.
- A small flashlight for illuminating dark corners.
- Storage solutions like tool foam and desiccant packs.
Investing in these maintenance tools is an investment in the longevity of all your other, more expensive equipment.
By embracing a comprehensive maintenance culture, where the right maintenance tools are used consistently, you ensure that your pullers will be ready, reliable, and safe for the next job, and for many years to come. The longevity of your tools is not a matter of chance; it is a direct result of the care and respect you afford them.

-

Fax: +86-576-82686606
-

Tel: +86-576-82686563
+86-576-82686832 -

E-mail: [email protected]
-

Add: Fengjiang Industrial Park, Luqiao Area,Taizhou City, Zhejiang Province, China
Copyright © 2025 Taizhou Xinming Technology Co., Ltd. All Rights Reserved.

Sale Hardware Tools Factory